
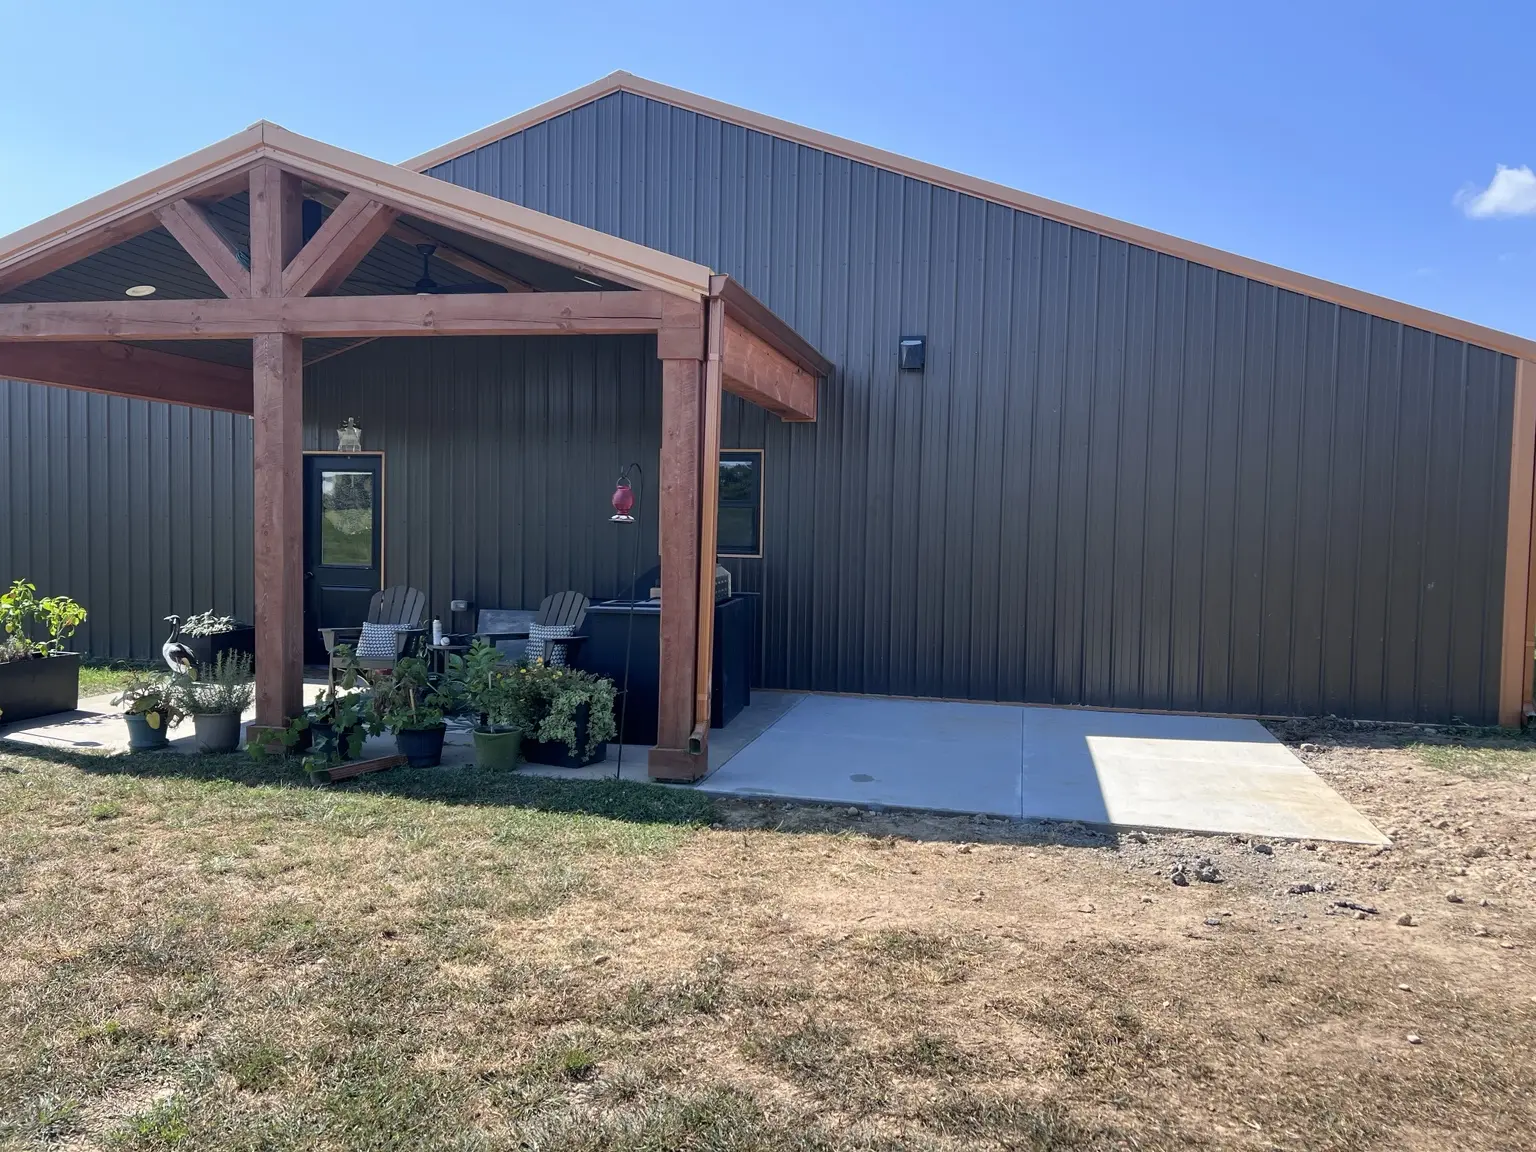
1. Decide how the patio will actually be used
Start with the activities the patio needs to handle. A small grilling area has different space requirements than a dining table, lounge seating, fire feature or hot tub. List the furniture and equipment you expect to use, then leave room to walk around them comfortably.
It also helps to consider how many people normally gather at your home. A patio that looks large on paper can feel tight once chairs are pulled away from a table and a grill needs a safe working zone.
2. Confirm the size with a real layout
Measurements are easier to understand when the outline is marked at the property. Walk the proposed edges, open nearby doors and picture furniture in place. This catches conflicts with steps, utilities, landscaping and traffic paths before excavation begins.
A purposeful shape often works better than adding square footage everywhere. An extension near the grill or a wider transition at a doorway may provide more value than making every side larger.
3. Plan elevation and drainage first
The patio needs enough slope to shed water while remaining comfortable for furniture and foot traffic. Door thresholds, foundation exposure, yard grade and nearby downspouts all influence the finished height.
Water should not be directed toward the house or trapped between the patio and landscaping. If the yard already holds water, that condition needs to be discussed during the estimate rather than discovered during the pour.
4. Think through access and removal
Backyard access affects the equipment, labor and schedule required to prepare and pour a patio. Narrow gates, finished lawns, fences, retaining walls and overhead obstacles can limit how material reaches the work area.
If an old slab, deck, pavers or landscaping must be removed, decide where debris will go and how the property will be protected. Access is part of the project scope, not an afterthought.
5. Choose a finish for real life
The finish should fit the way the patio will be used and maintained. A clean broom finish offers practical traction. Borders and layout details can define the space without making it difficult to care for.
Photos are helpful, but finishes can look different in outdoor light and weather. Discuss edges, joint lines and transitions along with the surface appearance so the whole patio feels intentional.
6. Coordinate every connection point
Patios often connect to doors, steps, sidewalks, driveways or future outdoor structures. Those meeting points affect elevation, joint placement and how people move through the yard.
If a pergola, screened room, deck, railing or outdoor kitchen may be added later, share that plan now. Footings, post locations and utility routes are much easier to coordinate before the slab is finished.
7. Discuss timing, weather and curing
Concrete work depends on site readiness and suitable weather. Excavation, base preparation, forming, placement and curing each need room in the schedule. Rain, heat, cold and wind can change the plan.
Ask when the patio can handle foot traffic, furniture and any heavy items. Project-specific instructions should always take priority over a generic timeline found online.